Pages

Sunday, October 26, 2014

Kitchen Chairs Part 1: Tacks, Tacks and more Tacks

If I see another tack it will be way to soon. When I did these last time I certainly did a good job of it. That fabric wasn’t going anywhere fast.

tacks
tacks
and more tacks

I also needed to remove the springs as they were chewing up the hessian I used as a base to protect the foam.

 
Tacks from just one chair

I lost a bit of skin trying to pry everything out with a screwdriver until I was told of a handy dandy gadget that would make removing tacks easily. It’s called a Tack Puller. Who would have guessed lol.

Handy dandy tack puller

Yep this tool was a skin and sanity saver.

After a few hours I now have 6 frames ready for the next step.


I was going to use webbing, however after my first attempt with trying to stretch that stuff by myself without and clamp and another handy dandy tool that I don’t want to buy, I’m going to go with a ply base. Probably will be cheaper too.

Part 2 will be the upholstery.

Cheers

Jenni

Saturday, October 25, 2014

I’m Back. Did You Miss Me?

Hello there. Long time no see. Some how life…. or is that lack of motivation, has made me neglect the things I love the most which is of course  decorating and crafting. Sure I've pottered around with the occasional project but nothing worth showing off.

I now have a new direction to get back into decorating. Remember the Dining room here that I had been working on? Well it’s still not finished. Bet you were expecting me to say it was. Nope, sorry.  BUT this is what I am working on doing, once and for all. You see my dream is to work in or own a home decor store. My all time favourites in my current town is Define Homestyle and My Sister’s House. A lot of my inspiration comes from both those wonderful stores.

I have a “to-do” list a mile long to achieve the makeover. Wanna have a look-see?

*strip, stain and reupholster the kitchen chairs
*paint kitchen table
*make new full length curtains for the sliding door
*fix and darken the venetian blinds for window
*make panel curtains for the venetian blind window
*paint/cover current side buffet or make a new one in keeping with new decor style
*make an EAT sign for narrow wall
*make placemats
*make or buy round area rug
*decorate frame for a lighting project
*make a perpetual calander

Um I think that’s all so far. No doubt there will be more as I progress.

I've already started on the kitchen chairs and I tell you that is a task and a half. When I did them last time, I made sure they were going to last. Upholstery tacks by the dozen per chair. After the third chair, my hand was so sore from trying to pry the tacks out with a screw driver and I lost a little bit of skin in the process.

Ok so remember this before and after?


This is where I’m starting, with my once and for all Dining Room make-over.

Stay tuned for part 2.

Cheers

Jenni 
Wednesday, February 20, 2013

Glass Bead Making

For years I always wanted to learn how to make glass beads and even more so since getting back in medieval re-enactment. Just after Christmas I had my chance and loved every minute of it.

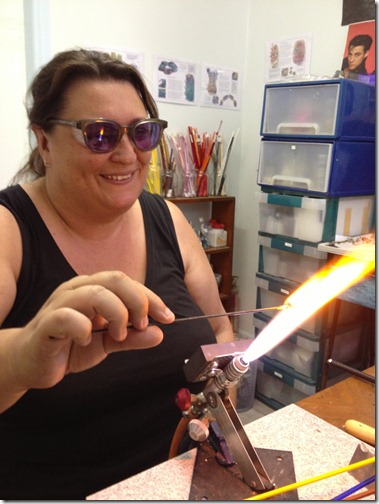
I’ve played with fire before when I did silver smithing for an entire year back in 2006 so I was not scared of working with flame. What I was concerned about was molten dripping glass. Was I going to be able to prevent it from dripping off the rod and onto the table? I knew that glass can shatter when cools to fast so I was also concerned with that as in is it an internal shatter or an explosion of glass shards. My doubts were quickly laid to rest after a couple of hours of one on one tutorial with a lovely lady by the name of Joy.

Lampwork1
My first fear was quickly overcome when I slowly put the first glass rod into the flame and gently rolled the rod. It’s similar to twirling honey on one of those honey sticks but a lot thicker. A gentle twirl and it stays on. It wasn’t until maybe my 5th bead that my second concerned was laid to rest when I unintentionally left a bead out of the flame for too long when “crack”. 

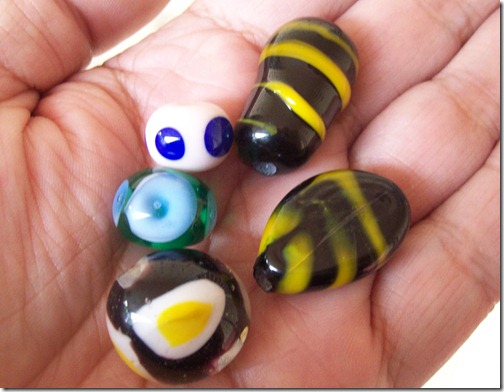
GlasswBeads3
These are the beads that survived.

Now I want to get my lampworking kit together including a kiln for not only this but for other jewellery making techniques like Precious Metal Clay and Glass Slumping.

Till next time

Jenni

Thursday, January 10, 2013

Wire Dragon Fly

I hope everyone had a safe and enjoyable Christmas and New Year.  Mine was a quiet affair for both Christmas and the New Year although I ended up with a case of an upset stomach after Christmas lunch which prevented me from seeing my cousins on Christmas night.

I’ve got way behind with this challenge due to this Australian Summer heat that knocks me about in a huge way. I have managed to get some projects done during that time when I was able to but never found the energy to write about them so I'll be posting those over the next couple of days.

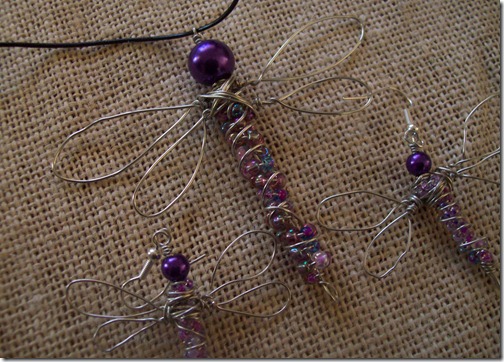
The project for day 19 was made on Christmas Eve as a present for Sandra, my sister, who loves dragonfly's.  As it turned out she absolutely loved the pendant and earring set that I made using the inspiration from Something Sublime

100_2986

Thank you for stopping by

Jenni

Tuesday, December 11, 2012

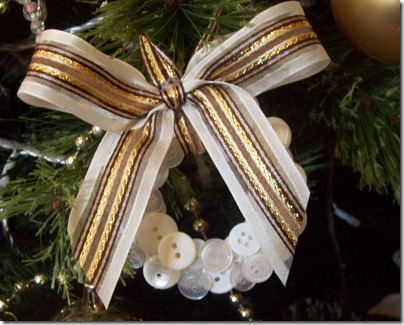
Button Christmas Wreath Ornament

Button Christmas Wreath Ornament

Christmas is not far away folks! Have you got your Christmas shopping done yet? How’s your Christmas decorating going?

This year I plan on making gifts however I haven't even made a thing yet. In my defence I do know what everyone is getting, so that is a start AND they are all relatively easy and affordable to make. Now that's a bonus on the hip pocket lol.

My Christmas tree has been up for about a week now but it’s still looking a little bare during the day. At night, the lights seem to fill in the spaces but I’m aiming to have a tree FULL of cream, gold and my recent colour addition, brown, over the course of a couple of years.

This is pretty much what last years tree looked like.

100_2913
So much room for more decorations don’t you agree?

Here is the first ornament for this year which was inspired by Crafty Chix and was repinned onto Christmas: Trimming the Tree.

100_2909
I used the cardboard from a cereal box for the base so both sides needed to be painted white to prevent the print and boring gray from show through, and guess what, I only had enough spray paint to make 4. That’s one of the problems when you use an almost half empty can of spray paint I guess.

I don’t know why but I like to have 12 of each ornament on my tree, so another 8 to go when I get some more paint.


Thanks for stopping by.

Jenni

Thursday, June 28, 2012

Knit one… Drop one… Ooops

Most Sundays I head to the local markets to help Mum with her jewellery booth. Here in Australia we are in the middle of Winter and although it’s not as cold in the CQ area of Queensland (that’s my opinion anyway) it does get a bit nippley. Well last Sunday was no exception with most people rugged up in multiple jumpers and jackets, beanies and scarves and complaining how cold it is. It had also been raining that weekend as well. I must of been one of the crazy ones wearing just jeans and a flannelette shirt.

Anyways I’ve never been a fan of following fashions as I’m more of a fashion dont-sta than a fashion-ista, but I found myself checking out the knitted scarves that many of the ladies were wearing and thought ‘why not’?

Remembering that I had bought 4 balls of wool from the markets just because I liked the colours, I headed off to Spotlight on my way to picking the Codeman up from work, and bought myself a pair of size 8 knitting needles.

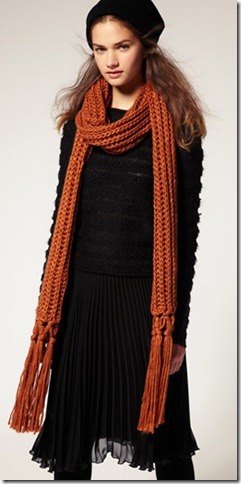
I wanted one that was very long and maybe have fringing on the ends like this one

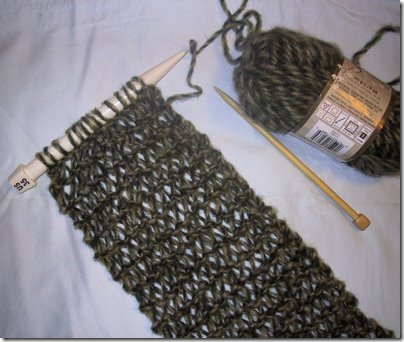
and it had to have a soft, loose knit similar to this
After spending about a hour looking a YouTube vids on how to ‘cast on’ and ‘knit’, I proceeded to make my first scarf.

The first attempt was too wide and I somehow kept adding extra loops… ooops, so I started over.

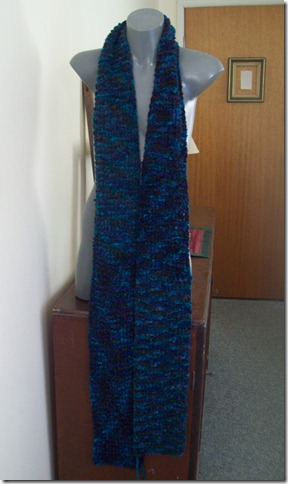
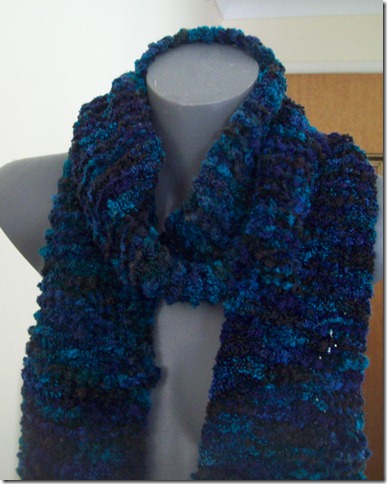
Second attempt is being modelled on this display mannequin that I got from the resale area of the dump. I only used the knit stitch which is called a Garter stitch….. I think.

100_2357

100_2355
Because I wanted it to be long, I had to forgo the fringing but I still love it!!!
I remember trying to knit when I was a lot younger but for some reason never actually finished it, so I am very proud of this scarf. And what about those colours???? It’s actually got more green in it which isn’t showing in the pics with purple and black.
Hmmm now what can I make next??? Maybe some cushion covers so I can learn how to do the Perl  or cable stitch perhaps?
Maybe even something like this.


Oh and I bought something else in addition to the knitting needles but that is for a future post. I’ll give you a hint. It has something to do with the Kitchen Hutch.

Thanks for stopping bySmile

Jenni

Today I am linking up to the following fabulous parties:

Funky Junk Interiors' SNS 141

Cherished Handmade Treasures: Creative Corner Hop #18

Natasha In OZ

30 Boxes in 30 Days: Update 6 Part 2

Here are the rest of the photos as promised in my last post of the stuff that I’ve been storing away in the 3 plastic containers I sorted through yesterday.

100_2360


100_2362


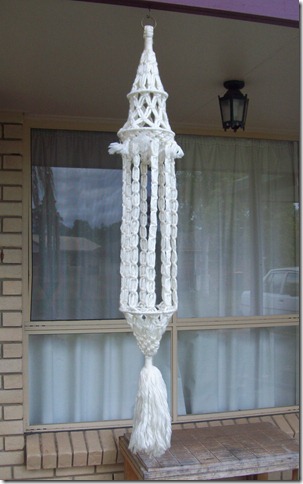
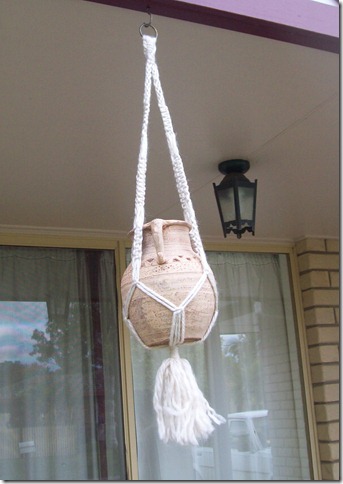
100_2371This Macramé hanger won 1st Place at the Bundaberg Regional show

100_2365


100_2368

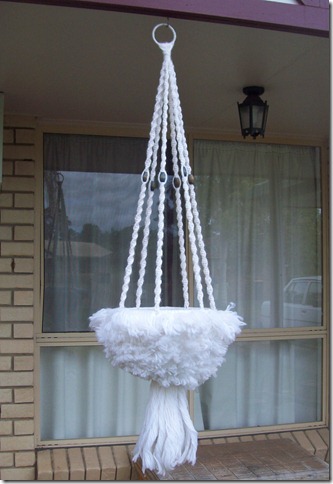
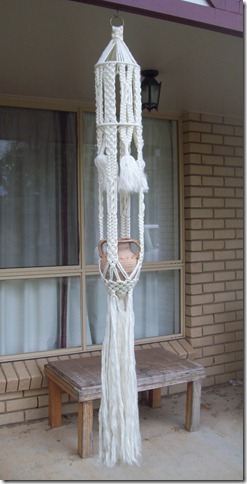
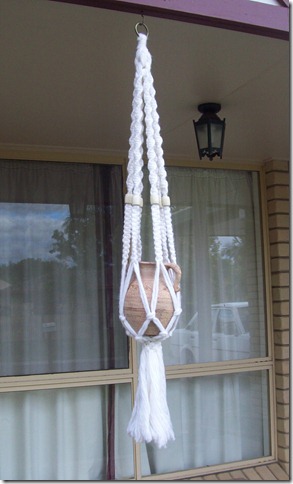
These macramé hangers were made when I was in my mid teens many many years ago. I taught myself just from reading how-to books as there was no Internet back then and would knot them from a handle of a wardrobe in my room as I wouldn’t have been allowed to put up a ceiling hook to make it easier.

Hangers 1, 3 and 4 are my favourites and when I finally get the back patio cleaned and decorated I will be swapping these out every once in a while for a new look.

I’m seriously thinking of hanging number 5 out the front when I get those two chairs painted and reupholstered and the table there replace with something more to my liking.

Well that wraps up my 30 Boxes in 30 Days Challenge. There is still so much to sort through, and looking at the car garage and the other side of the garden shed, there are plenty more boxes to sort through to keep me busy for some time.

I bought a new front loader washing machine today so I need to clean the laundry before it arrives tomorrow. Don’t you just hate how those dust bunnies find areas to hide that are difficult for us mere mortals to reach???

Thank you for stopping by Red heart

Jenni