Pages

Friday, January 20, 2012

Garden Orbs

Christmas is over for another year. The Christmas tree and decorations are packed away until next time. Now what do you do with light sets where only half the strand works or you plan to upgrade to brand new lights? Do you throw them in the bin or do you try to reuse them?

I have found that to have a well lit Christmas tree I need to buy more sets and I’m hoping that the stores will be bringing back last years lights as they were almost perfect. What I loved about them is you can connect the strands together. Less transformer packs and less power plugs = Awesome. The only draw back to them is they have clear cords. Oh well you can’t win them all.

So where is this random ramblings leading I hear you ask?

Take a squiz at this.
Garden Orbs 019
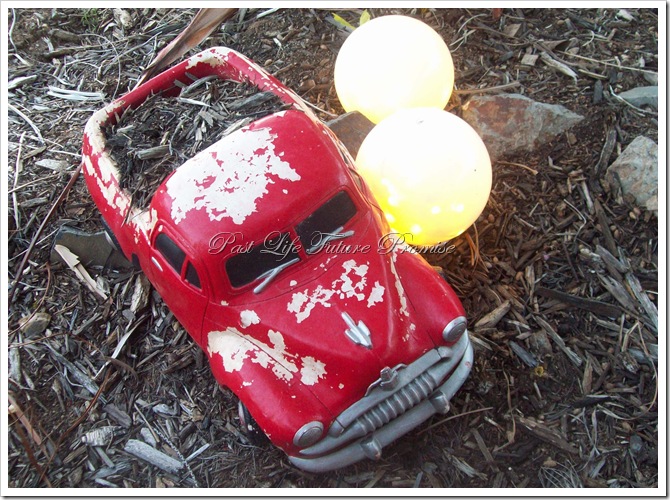
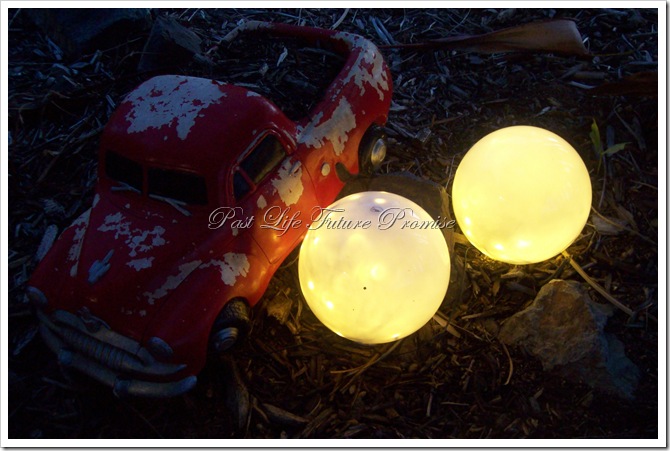
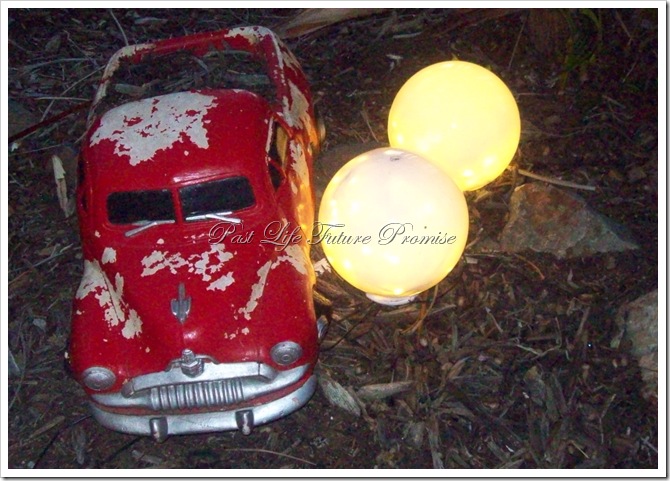
It was time to retire my old LED sets from Christmas duty and give them a new year round job and when I first found this idea here, I just had to make my own.

The light shades were found for about $3 each at Saint Vinnie's and at the resale area of the local dump. The one on the left is glass and the other one is acrylic. They are a dime a dozen at any goodwill store. I am on the look out for another glass one because let’s face it, they just look better and have a good weight about them.
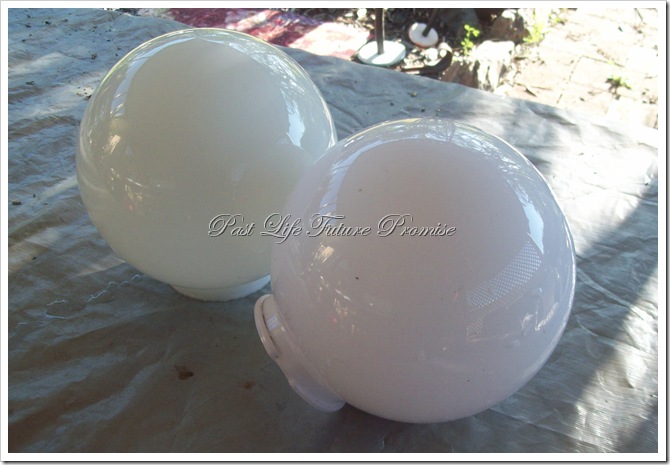
Garden Orbs 004
All that you need to do is stuff the lights into the shades and hey presto, high end looking glowing garden orbs on a beer budget. Can’t get even better than that and it only takes a couple of minutes to do.

Here are are few more pics for you to enjoy.
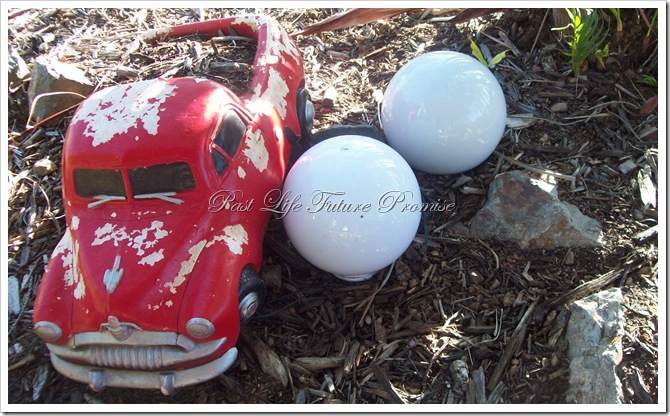
Garden Orbs 002
Garden Orbs 010
Garden Orbs 012
 Hmmm now I just need to get some greenery happening which is going to be a challenge. Not a green thumb in sight.

Till next time and stay safe,

Jenni (aks Smokeygem)
Sunday, January 15, 2012

Dining Room Makeover Part 2

How is everyone’s weekend going? It’s nice and overcast here making it a lovely day after this heat we’ve been having here.

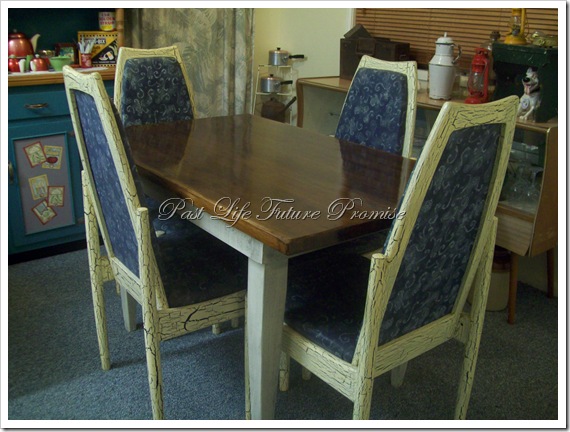
Remember the dining table I painted recently? See that piece of furniture on the left? It looks like it’s got stickers on it.

August 2011 056
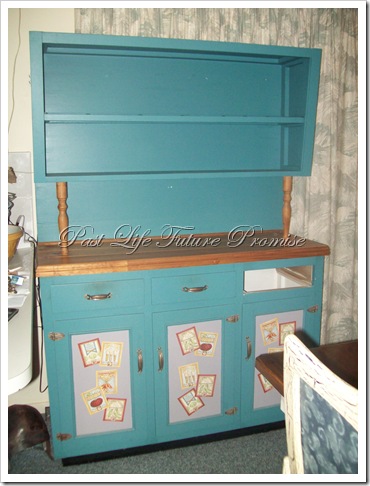
Yep that was my latest project. I've had that hutch since about 1999.

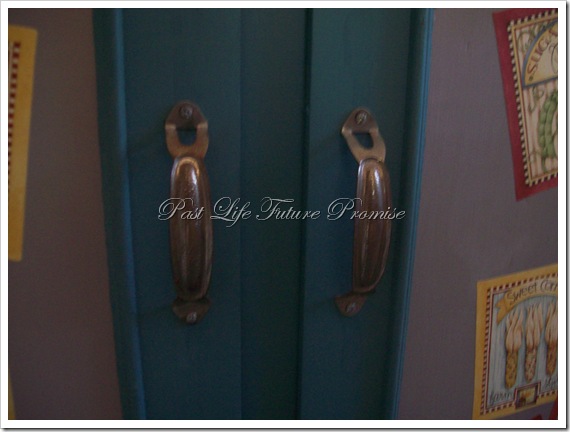
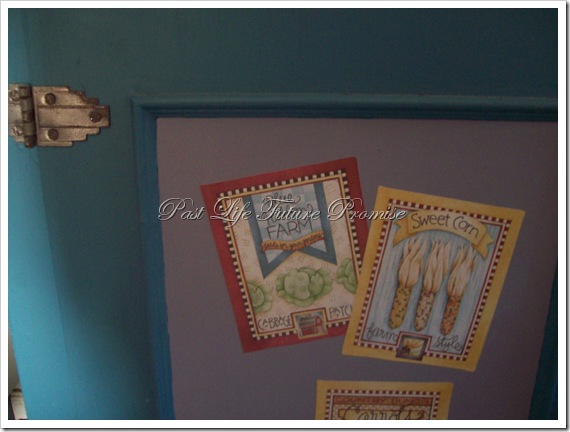
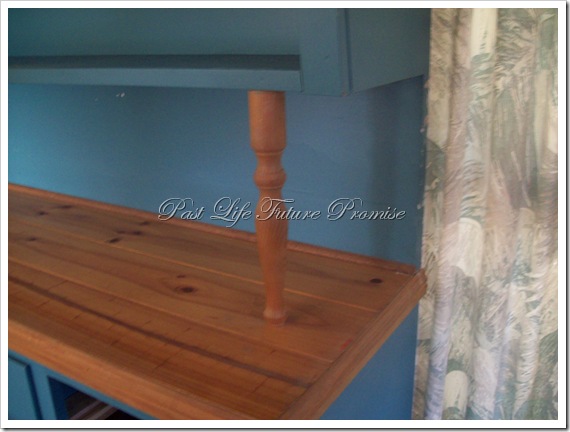
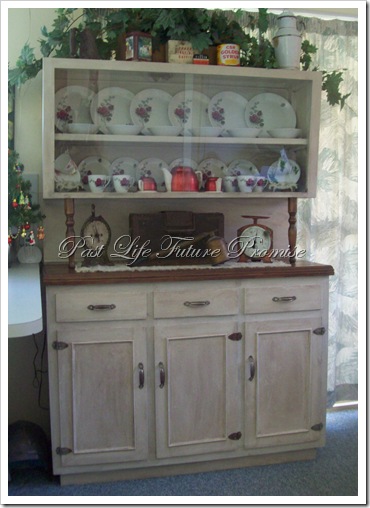
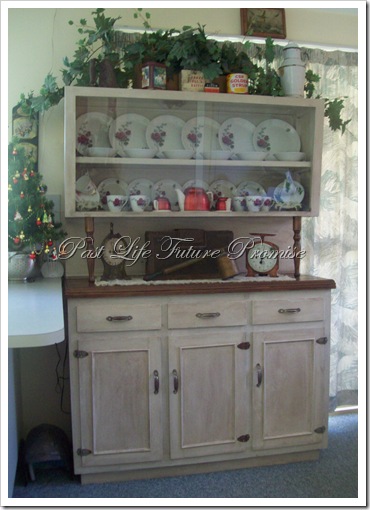
Here's a better image of it without the sliding glass and my collection of vintage items handed down to me by my family.Kitchen Hutch 001
Kitchen Hutch 005
Kitchen Hutch 006
Kitchen Hutch 007
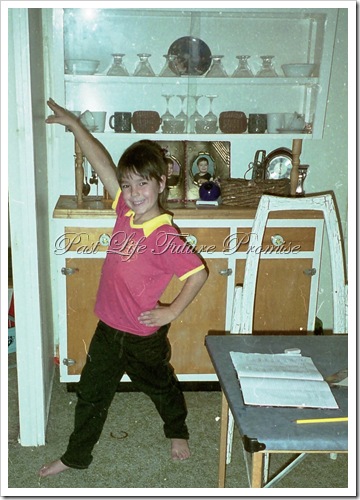
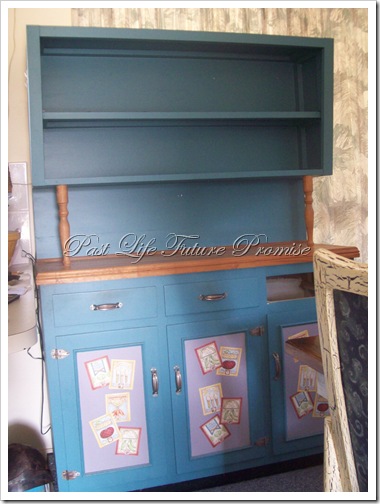
… and this is what it looked like when I first bought it from a second hand shop in Bundaberg. Sorry but it's the best only image I have.

img 024
That's my son Cody at the age of 6 isn't he a little cutie.  He was supposed to be doing his homework but when he saw the camera he just had to pose. It’s a different story now. Damn shame they have to grow up LOL

OK back on topic guys.

When I bought it, it was rather bland. Varnish ply doors, white paint and no real character at all. To give it a new look, I added the molding on the doors and painted it this blue-green-ish colour from Taubmans, painted the inserts grey and added some 'Wallies'. Definitely late nineties country going on here and in need of a whole new look.

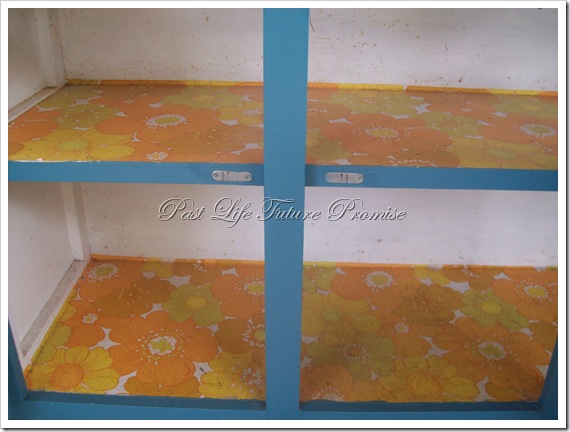
Oh and check out the outdated contact paper. Now that was a task and a half to remove.

Kitchen Hutch 008
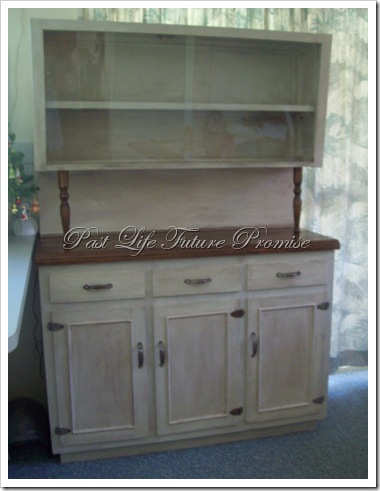
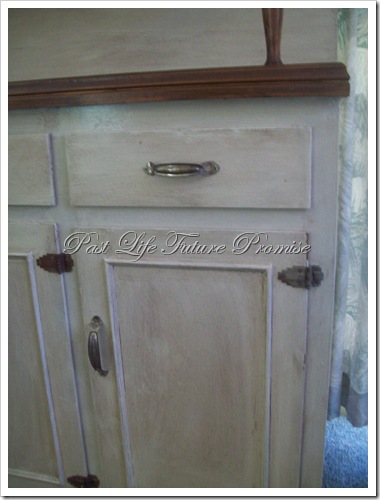
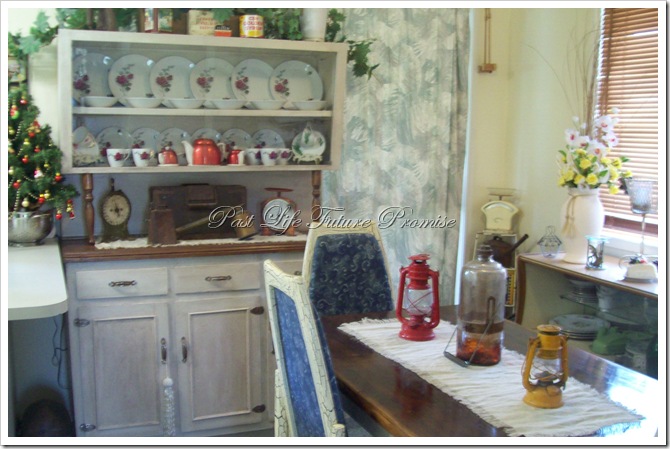
Fast forward to 2012. Isn't it amazing what a little bit of paint and stain can do? I'm loving it. I used Taubmans "Ivory Tower" and Cabot's “Bazillion Roast”  custom stain for the timber and also as a glaze to darken the paint finish. Minwax satin wipe-on poly was used to protect the whole piece.

Img 002
Img 005
Img 012
I haven’t lined the shelving or drawers yet because I’m still looking for a design that appeals to me. Maybe I’ll even have a go at printing my own using the many awesome tutorials online.

Here are the before and after pics of the hutch again.

Kitchen Hutch 002 Img 012 Here's how my dining room looks so far PLUS a sneak peak of my next project. Can you guess what it is?

img 022
 Till next time and stay safe.

Jenni (aka Smokeygem)